How to Create a Memorable Family Travel Scrapbook
19 June 2025
Remember that epic road trip where Dad took a wrong turn, and you ended up discovering the best roadside burger joint in history? Or the time little Timmy made friends with a street cat in Italy, and you almost had to smuggle a new pet home? Memories like these deserve more than just a spot on your phone’s overflowing camera roll—they deserve a place in a scrapbook!
Creating a family travel scrapbook is like bottling up your adventures in a magical, page-flipping time machine. Years from now, when the kids are grown (and too cool to admit they loved those family trips), you can pull out these scrapbooks and relive every hilarious, heartwarming, and chaotic moment.
Ready to turn your travel mishaps into masterpieces? Let’s dive into how you can craft the ultimate scrapbook that’ll have your future self thanking you. 
Step 1: Gather Your Supplies (And Your Sanity)
First things first—before you unleash your inner creative genius, gather the essentials.What You'll Need:
- A sturdy scrapbook – Because trust me, this thing is going to be flipped through A LOT.- Photo prints – Pick your best shots (and don’t forget the embarrassing ones; they make the best stories).
- Glue, tape, or photo corners – You don’t want your memories going MIA.
- Markers, pens, and stickers – The more colorful, the better.
- Maps, ticket stubs, and receipts – Little scraps of paper that scream, "We were here!"
- Travel journal notes – If you jotted down funny things the kids said, now’s the time to immortalize them.
Pro tip: Keep everything in a ziplock bag while traveling so you don’t end up losing that “one super important” boarding pass under a hotel bed. 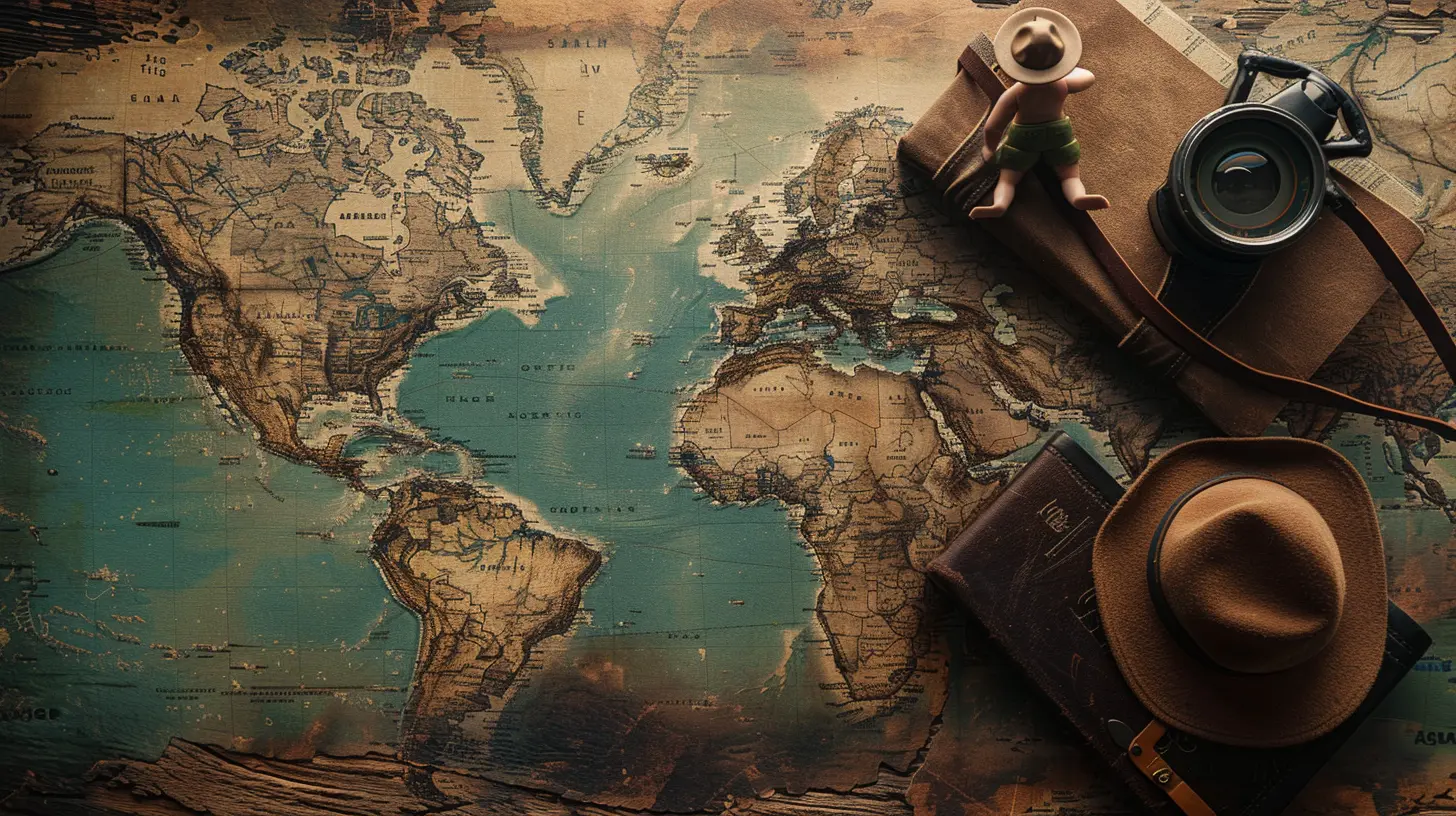
Step 2: Choose a Theme (Or Embrace the Chaos)
Scrapbooks can be as organized or as spontaneous as you want. Want sleek, magazine-worthy pages? Go for a sleek, minimalistic design. Prefer a scrapbook that looks like it survived a tornado of creativity? That works too!A Few Fun Theme Ideas:
- Chronological Order – Keep it simple. Start at the beginning of your trip and work your way through.- By Destination – A section for every city, beach, or theme park you visited.
- Highlight Reel – Only the best (and worst) moments made it in.
- Kid’s Perspective – Let the little ones doodle and add their version of events (which may or may not be entirely accurate).
Pick a theme—or just wing it. Honestly, no one’s judging! 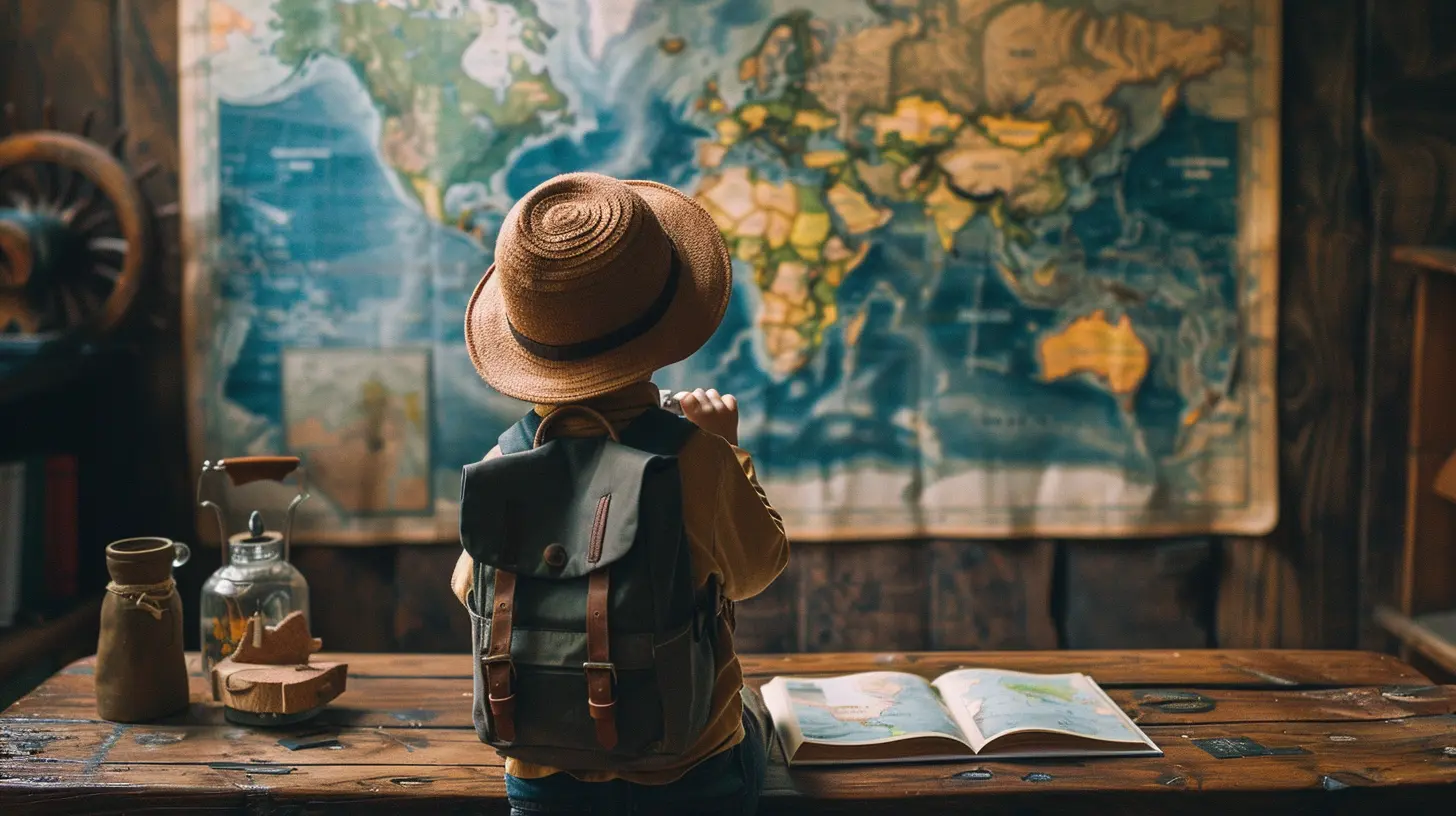
Step 3: Print Those Photos (Because Digital Albums Are Boring Anyway)
I know, I know. You’ve got 2,347 pictures from your last trip sitting on your phone, and you swear you’ll print them soon. Newsflash: You won’t—unless you make it part of your scrapbook project.Tips for Photo Selection:
- Pick the candid moments—posed smiles are nice, but goofy faces tell the real story.- Include landscape shots—so future-you can remember just how breathtaking that sunset was.
- Don’t skip the "oops" pictures—like Dad wearing his shirt inside out all day.
Pro tip: Print photos in different sizes to add variety to your pages. 
Step 4: Add Stories That’ll Make You Laugh (or Cringe) Later
A scrapbook without words is just a glorified photo album. The magic happens when you add captions, doodles, and little notes that capture the essence of the moment.What to Write:
- Hilarious Quotes – “Mom, why does this hotel room smell like grandpa’s socks?”- Mini Travel Diary Entries – A day-by-day breakdown, if you’re feeling ambitious.
- Mistakes & Mishaps – Missed flights, weird local foods, that time you got lost in a souvenir shop.
Trust me, future-you will appreciate the details—because even perfect trips come with plenty of chaos.
Step 5: Get Crafty (AKA Unleash the Glitter and Washi Tape)
Here’s where things get extra fun. Grab your scissors and embellishments—it’s time to turn those pages into mini masterpieces.Fun Ways to Decorate:
- Washi Tape Borders – Because straight edges are overrated.- Doodle Frames & Stick Figures – Who says you need to be an artist?
- Pressed Flowers or Leaves – If they survived customs, they deserve a page!
- Mini Envelopes – Perfect for hiding small keepsakes like foreign coins.
Just don’t go TOO crazy—moments of “scrapbook regret” happen when the stickers take over.
Step 6: Make It Interactive (Because Regular Pages Are So Last Year)
Why settle for just looking when you can experience your scrapbook? Adding interactive elements takes things to the next level.Cool Interactive Ideas:
- Flip-up postcards – Glue just one side so you can lift it!- Secret Pockets – Stash those extra-special mementos inside.
- QR Codes – Link to videos or digital photo albums for a multimedia twist.
Imagine your grandkids flipping through your scrapbook, only to find an old currency note hiding in a pocket—mind blown!
Step 7: Protect Your Masterpiece (From Spills, Kids, and Time)
Now that you’ve put your heart and soul into this scrapbook, let’s make sure it survives the years ahead.How to Preserve It:
- Use acid-free pages – Avoid yellowing and fading.- Store in a cool, dry place – No, not in the attic where it’ll become a family of spiders’ new home.
- Consider digital backups – Scan or take pictures of your pages just in case.
A well-preserved scrapbook means that one day, your kids can show their kids the time Grandma and Grandpa backpacked through Europe like rockstars.
Why a Family Travel Scrapbook Beats Any Instagram Post
Look, social media is great—you get likes, comments, and maybe even a cool filter. But a scrapbook? That’s something you hold, flip through, and pass down for generations. It’s messy, real, and full of imperfectly perfect moments that make your family unique.Years from now, when your now-teenager insists they never enjoyed that Disney trip, you’ll have visual proof that they were smiling from ear to ear while eating that Mickey-shaped pretzel.
So grab those glue sticks and start preserving your adventures. Who knows? Maybe one day, this scrapbook will be the inspiration for the next great family trip!
all images in this post were generated using AI tools
Category:
Family TravelAuthor:

Tracie McAdams
Discussion
rate this article
2 comments
Carmen McGee
Love this! Scrapbooking our family adventures has become a cherished tradition. It’s amazing how flipping through those pages brings back the laughter and memories. Can't wait to start our next one!
June 22, 2025 at 4:50 AM
Tracie McAdams
I'm so glad to hear that! Scrapbooking truly captures the joy of family adventures and preserves those precious memories. Enjoy your next project!
Pilar Wallace
Great tips! Cherishing memories together is priceless!
June 19, 2025 at 4:25 AM
Tracie McAdams
Thank you! I'm glad you found the tips helpful for capturing those priceless moments!